

For those who have never gone through the process of ordering a custom bicycle – this post details what is involved. If you’ve ever been the person who has scoffed at the price of a custom made bicycle, I’m sure the following information will provide you with an insight into the workmanship and time involved.
This ten-stage process is what you can expect most custom bicycle frame builders to follow.
1. Initial Discussion
The initial discussion is the first contact you make with a frame builder. We had actually picked who we wanted to build our tandem before speaking to anyone – most people will email or call between two and five frame builders before settling on one.
Ways that you can eliminate builders include: choosing what material you’d like your frame built with, how you’d like your frame built (brazed, lugged, welded), which builder fits your budget, and how much experience the builder has. You might also get better vibes from one builder over the other through email or phone conversation. Most frame builders love their job and will talk with you as much as you need to feel confident in them, so contact them and don’t be afraid to ask questions. You can read about why we went with Co-Motion HERE.
Our initial discussion with Co-Motion included a few emails to determine what our tandem would be used for, some of the specificities of our new frame and once we had sorted out tandem intricacies (wheel size, brakes, frame splitters etc) – the initial quote.
2. Deposit
Most frame builders will ask for 30-50% of the frames cost up-front. This will cover the cost of materials, and in the event that you no longer want the frame, the builder will have something for their efforts. Co-Motion received 50% from us.
3. Customer Information Collection

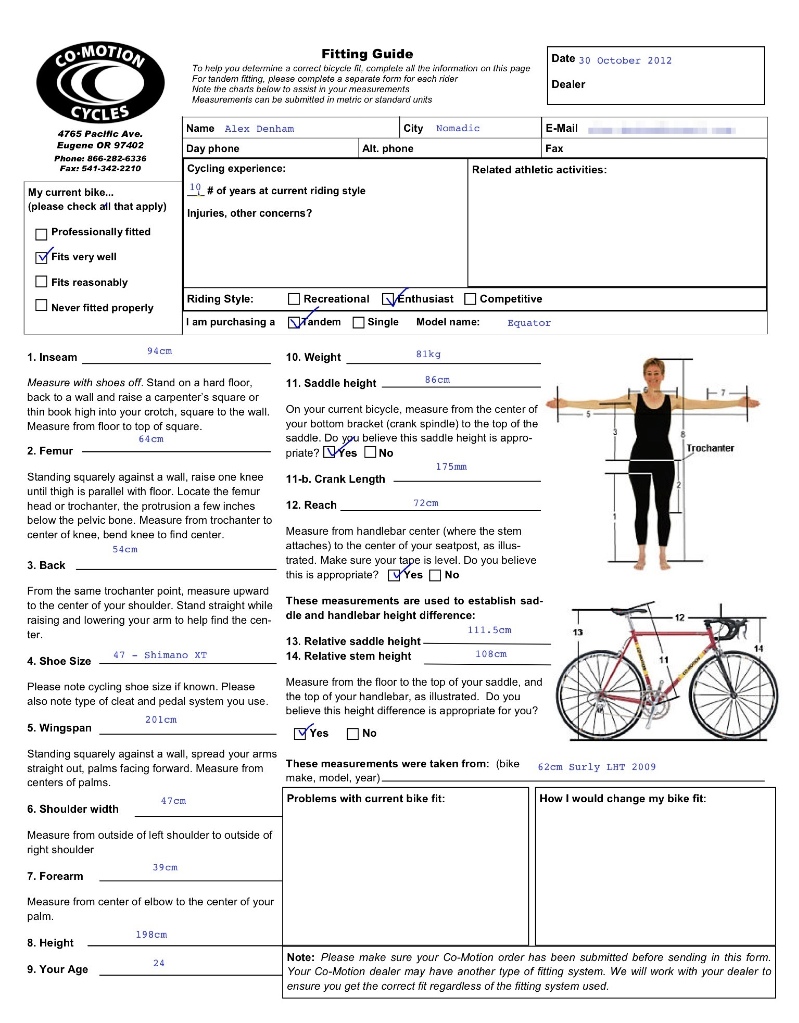
Co-Motion sent us a sheet with the body and bike measurements they required for the design of our new tandem. The sheet covers how comfortable we are on our touring bikes, what riding style we like, how well we feel our bike fits us and more.
We luckily have bikes that fit us really well, so this helps Co-Motion out a lot with the new frame. Other customers will often speak to a bike fit professional at a bike shop to get the frame sizing perfect before laying down serious amounts of money.
We actually got an email from Dwan at Co-Motion who was concerned about one of the measurements we had given. It turns out we had measured our femurs incorrectly! These lengths are a key measurement for our seat tube angles.
4. Preliminary Design
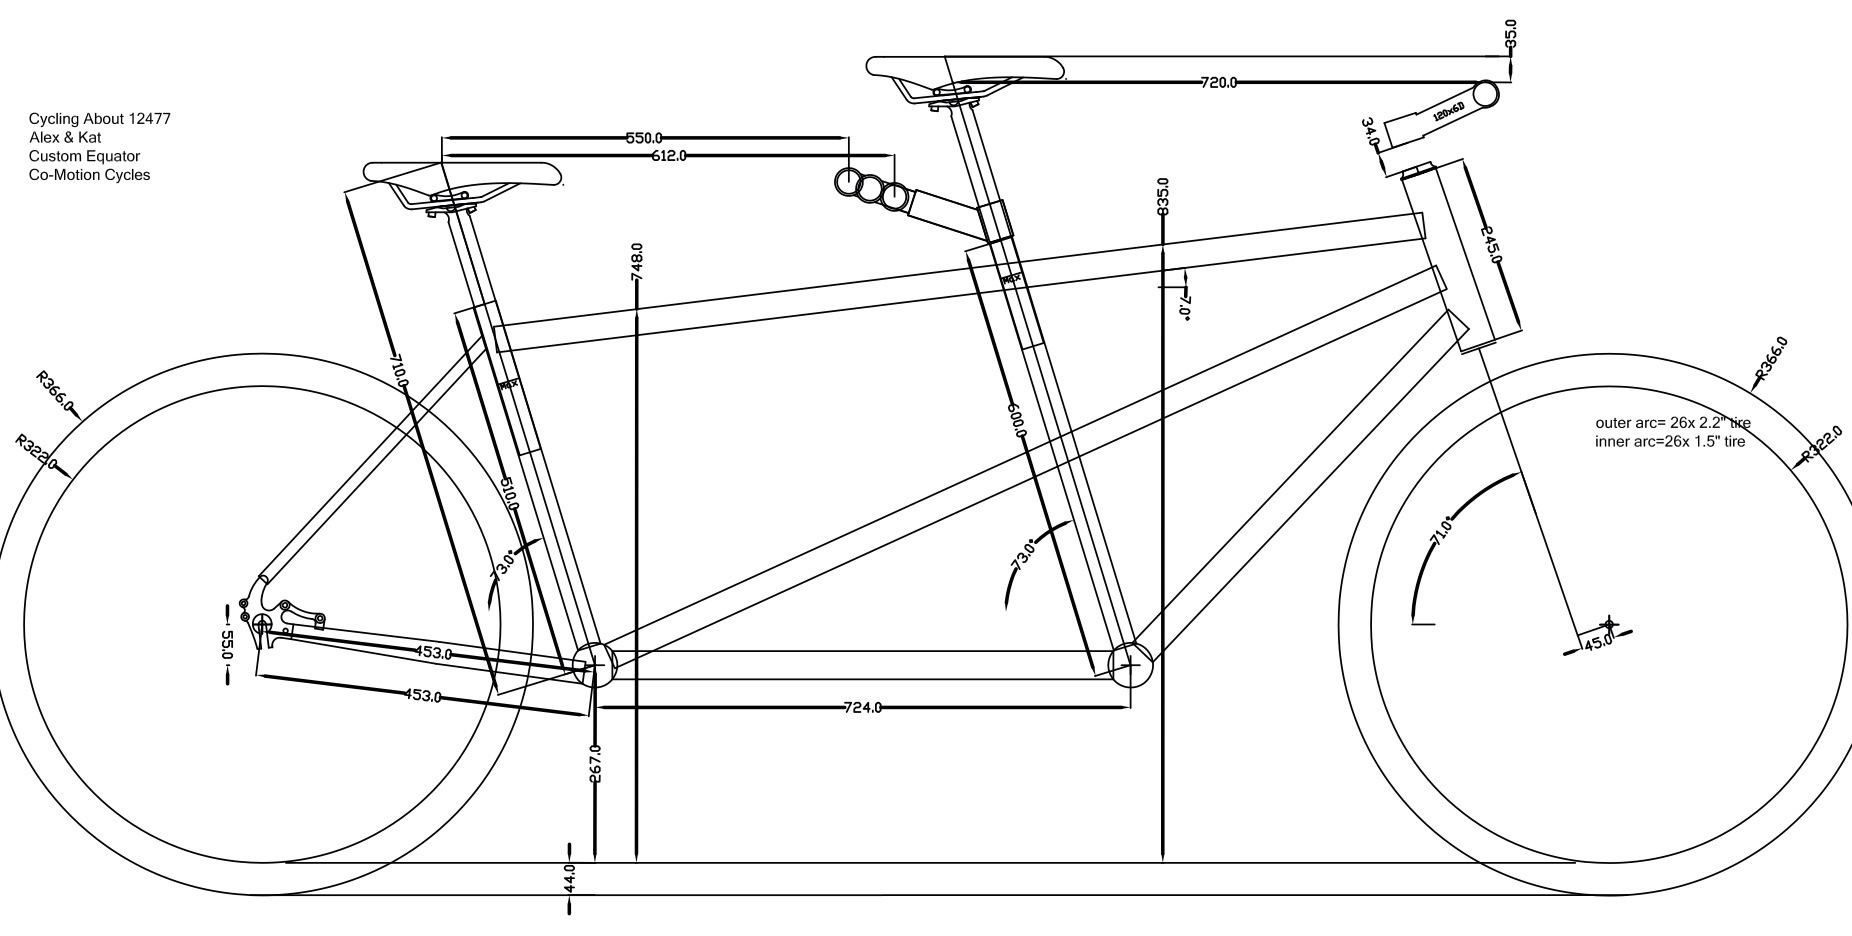
Once the frame designer has a good idea for your body dimensions and the expected use of your bike, they will go about drawing it up in a CAD program. If you have no idea about bicycle geometry, you will have to trust what the frame designer has done for you.
5. Revisions
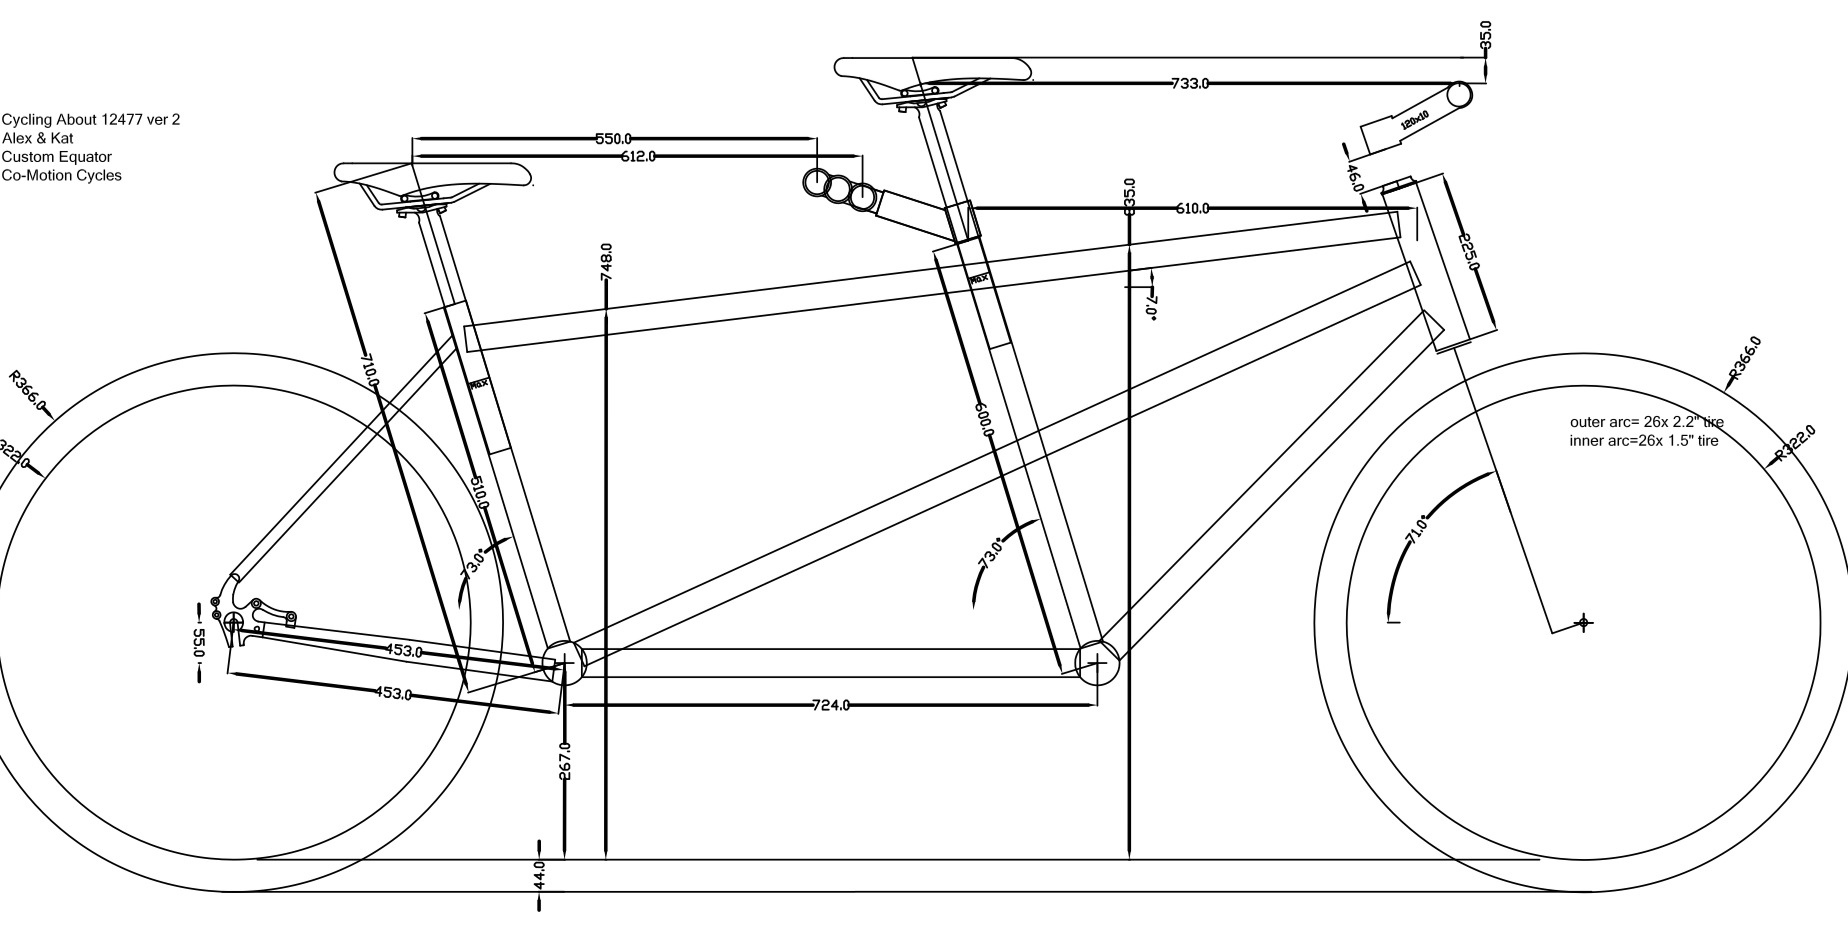
In our case, we made a few revisions with Dwan, getting him to match my current top tube length and adjusting our head tube length to give us a specific amount of spacers under my stem.
6. Sign Off
Once you’re happy with what is on paper, you can give the go-ahead to build. Some builders have a sign-off sheet, others just go off verbal or email dialogue.
7. Build and Paint

Now the magic can happen. Everything you discussed with your builder is getting turned into something you can stop dreaming about and start riding.
Most builders have a waiting list spanning between months and years, but a select few can get a frame to you in less than a month. For Co-Motion it’s an eight-week wait, plus some time for postage.
Most builders will let you know when they are starting your frame. They will call you with possible suggestions for changes that you might like the idea of mid-build. If it is a straight forward job with no drama, the frame is built and you will know when it’s ready to be painted.
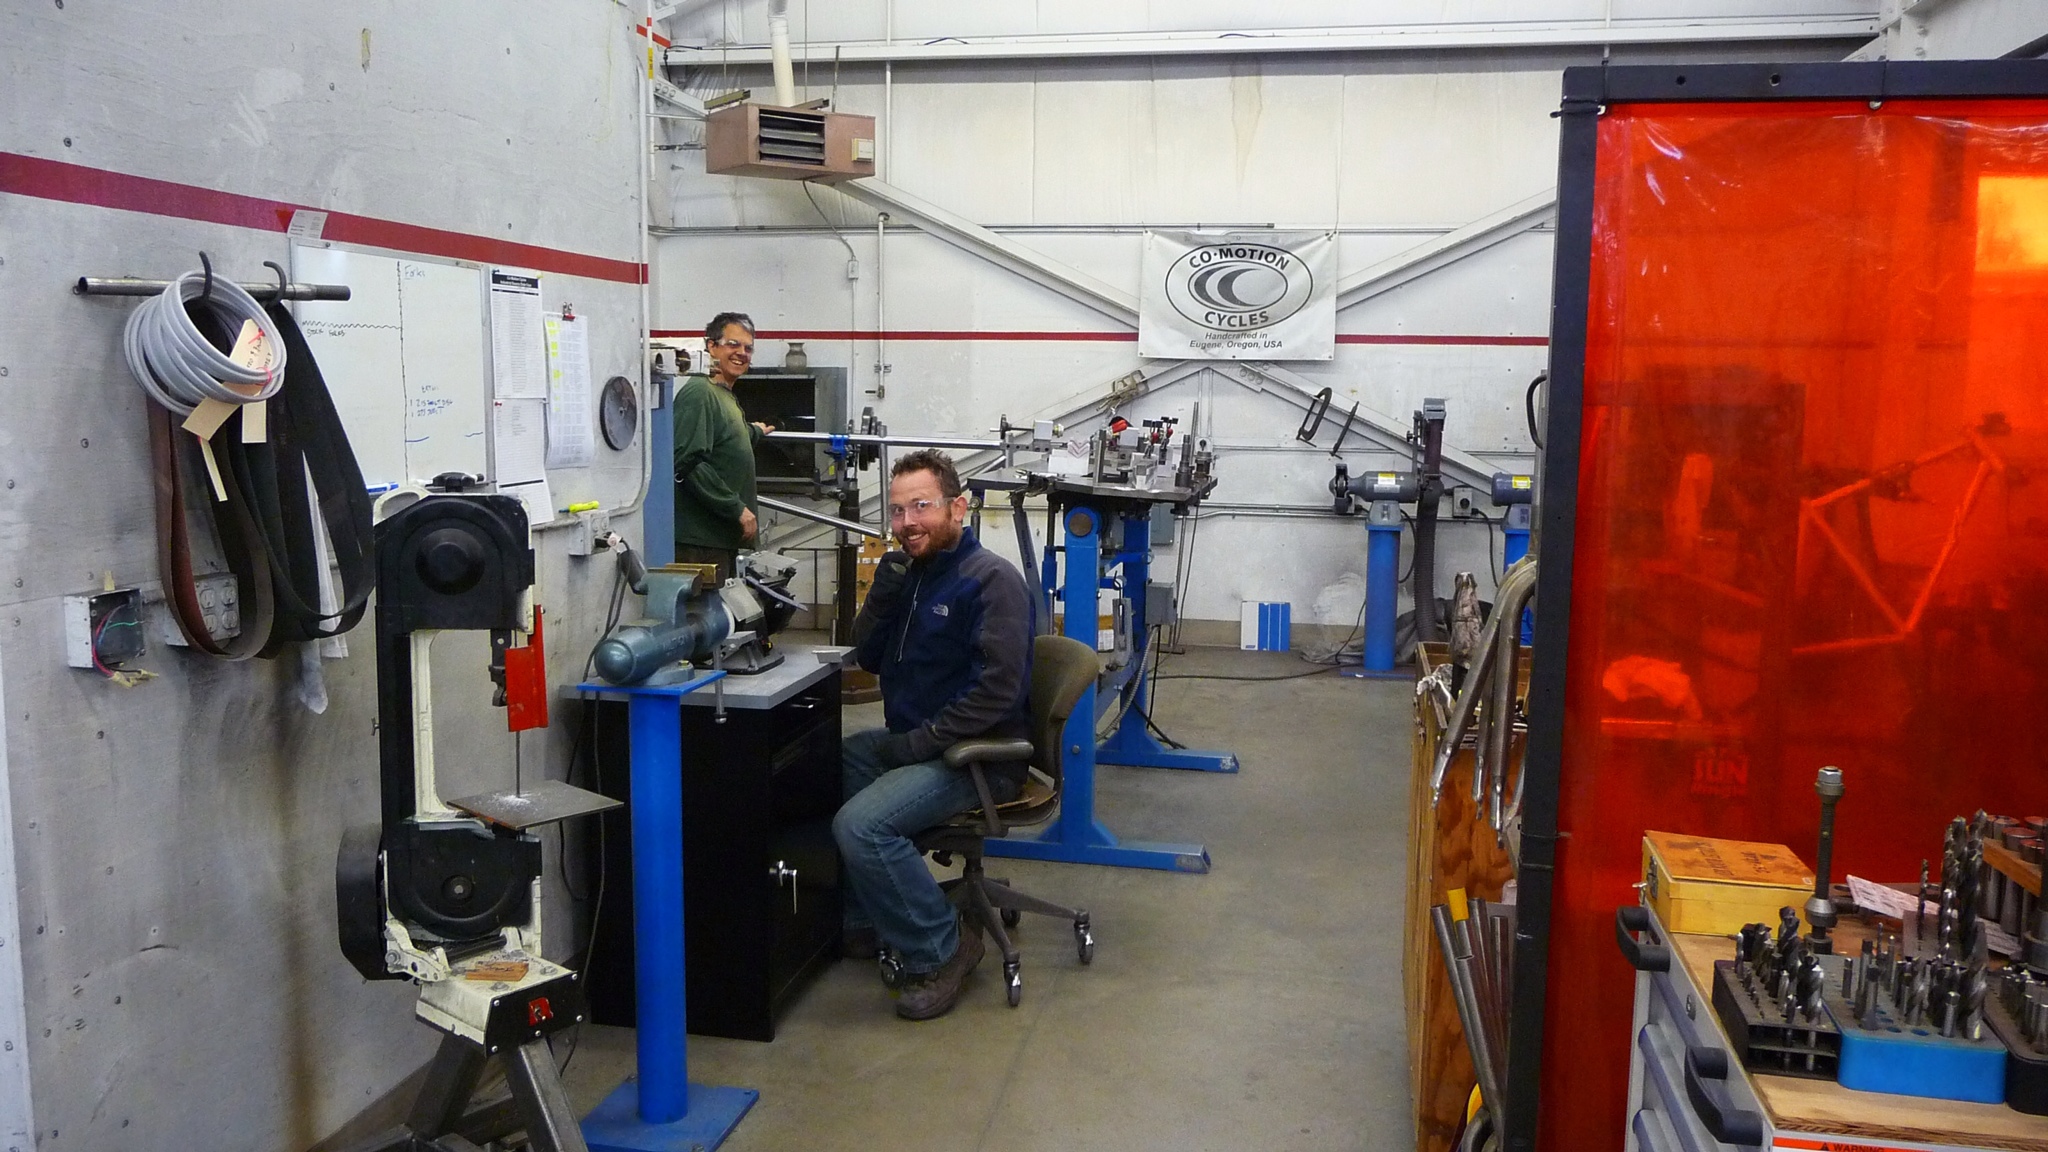
Build Process:
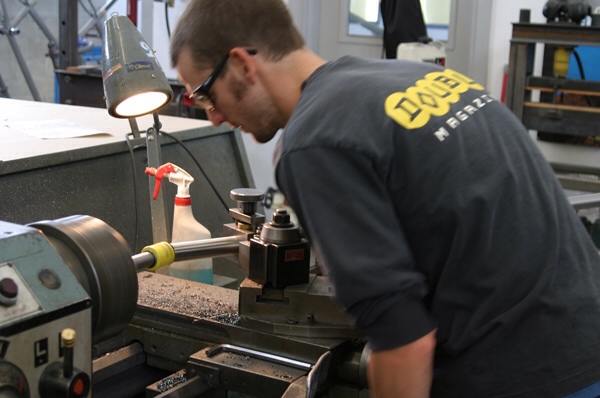
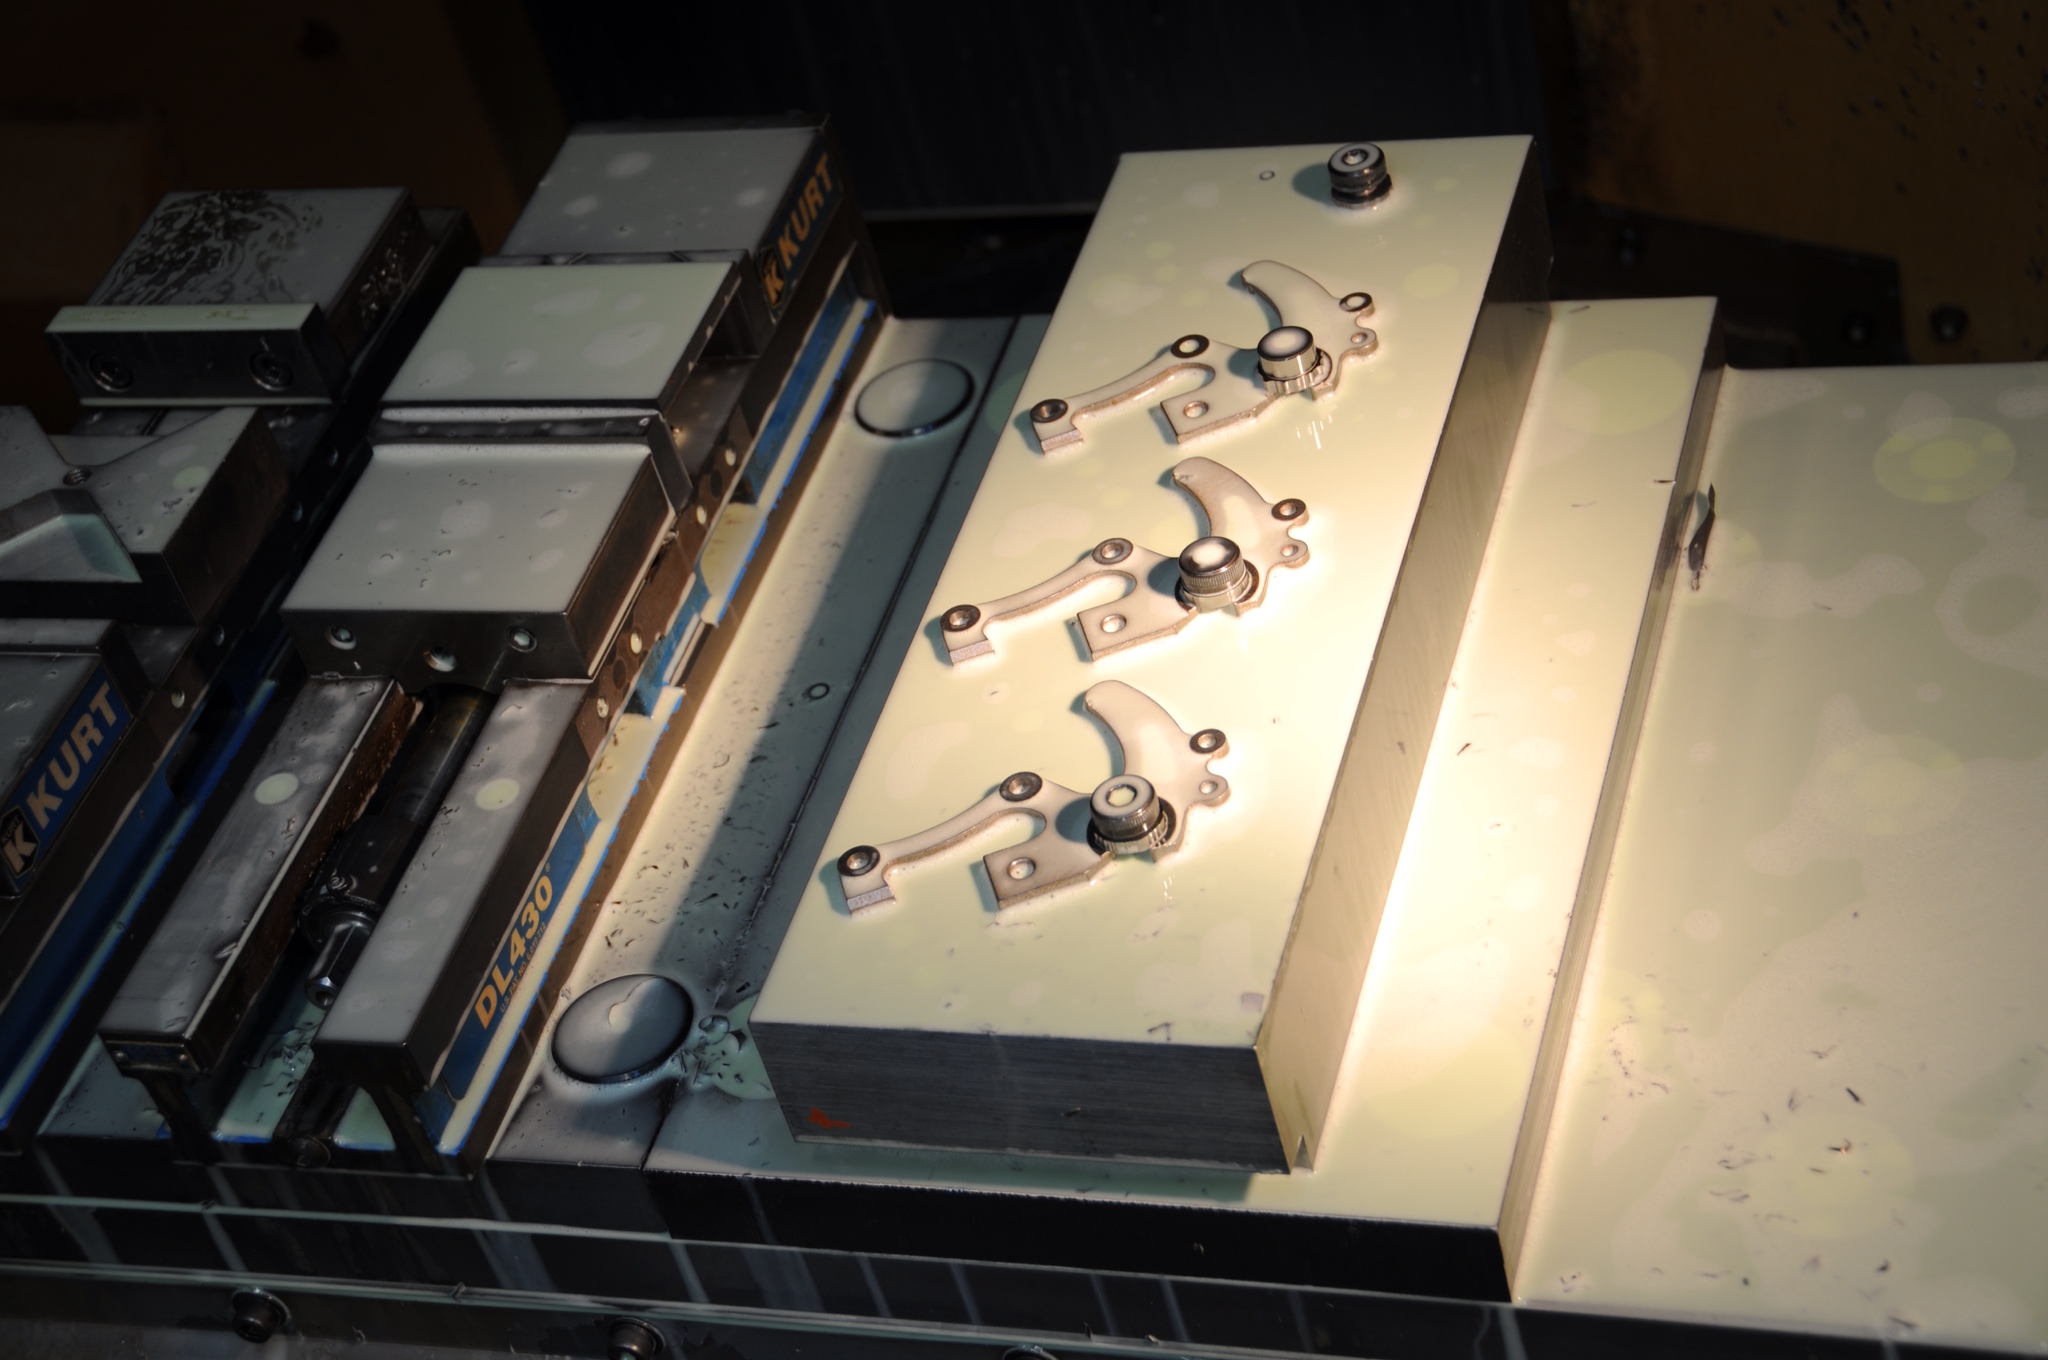
Mitering: Butted frame tubing is cut to length and hole saws are used to make the intersections with the other tubes. With custom frames, the mitering process is often completed on a manual machine lathe.
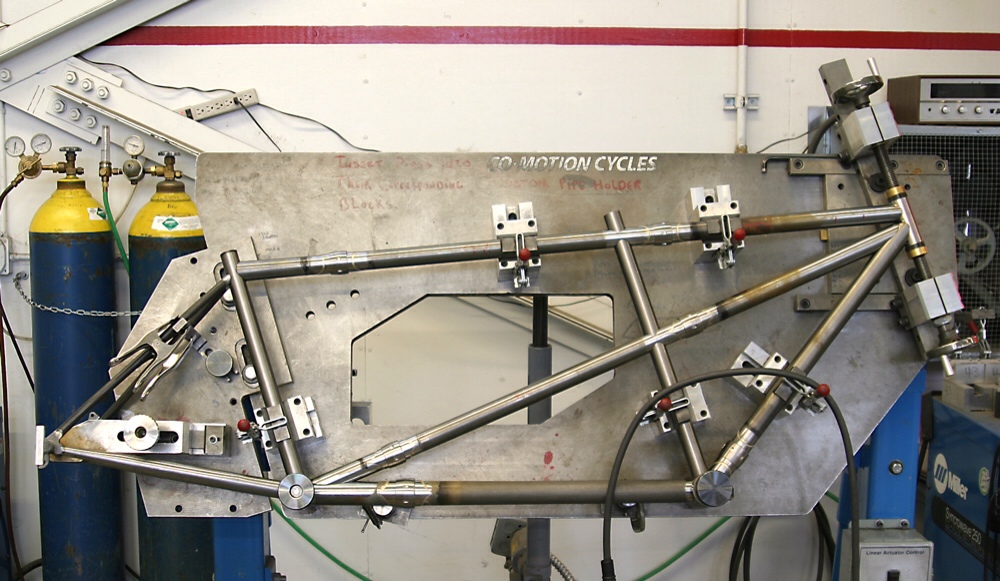
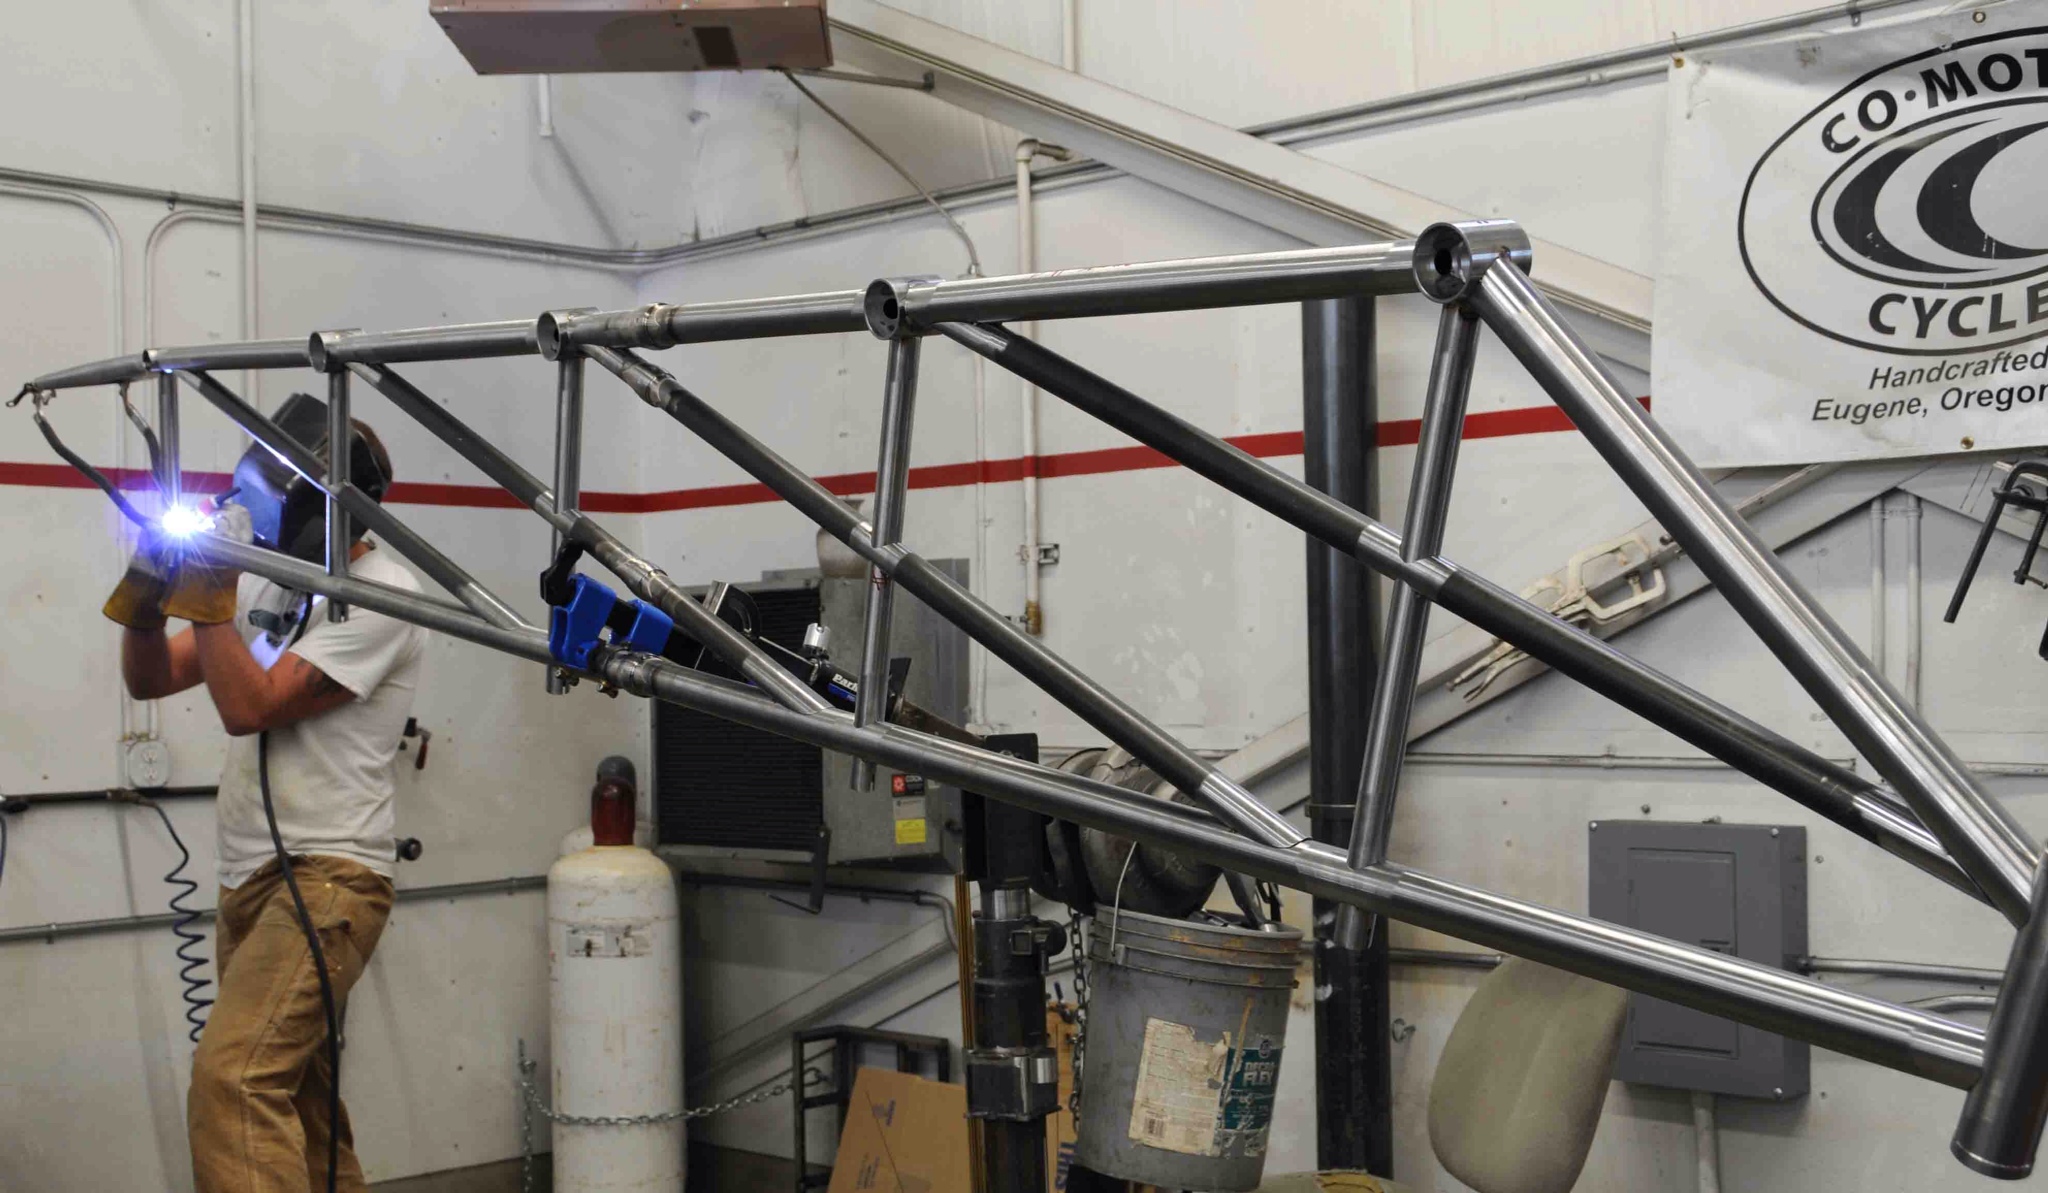
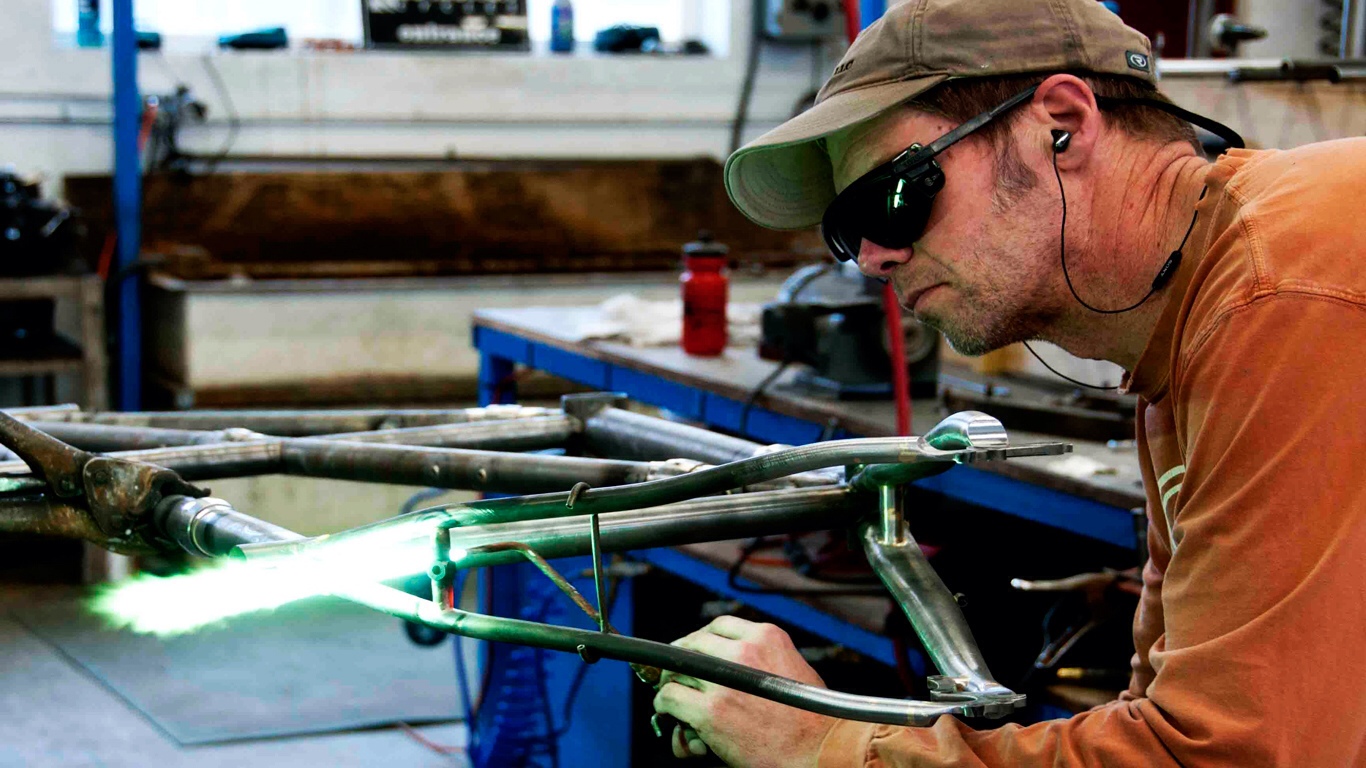
Welding: Most custom manufacturers will TIG weld your frame on custom frame jigs.
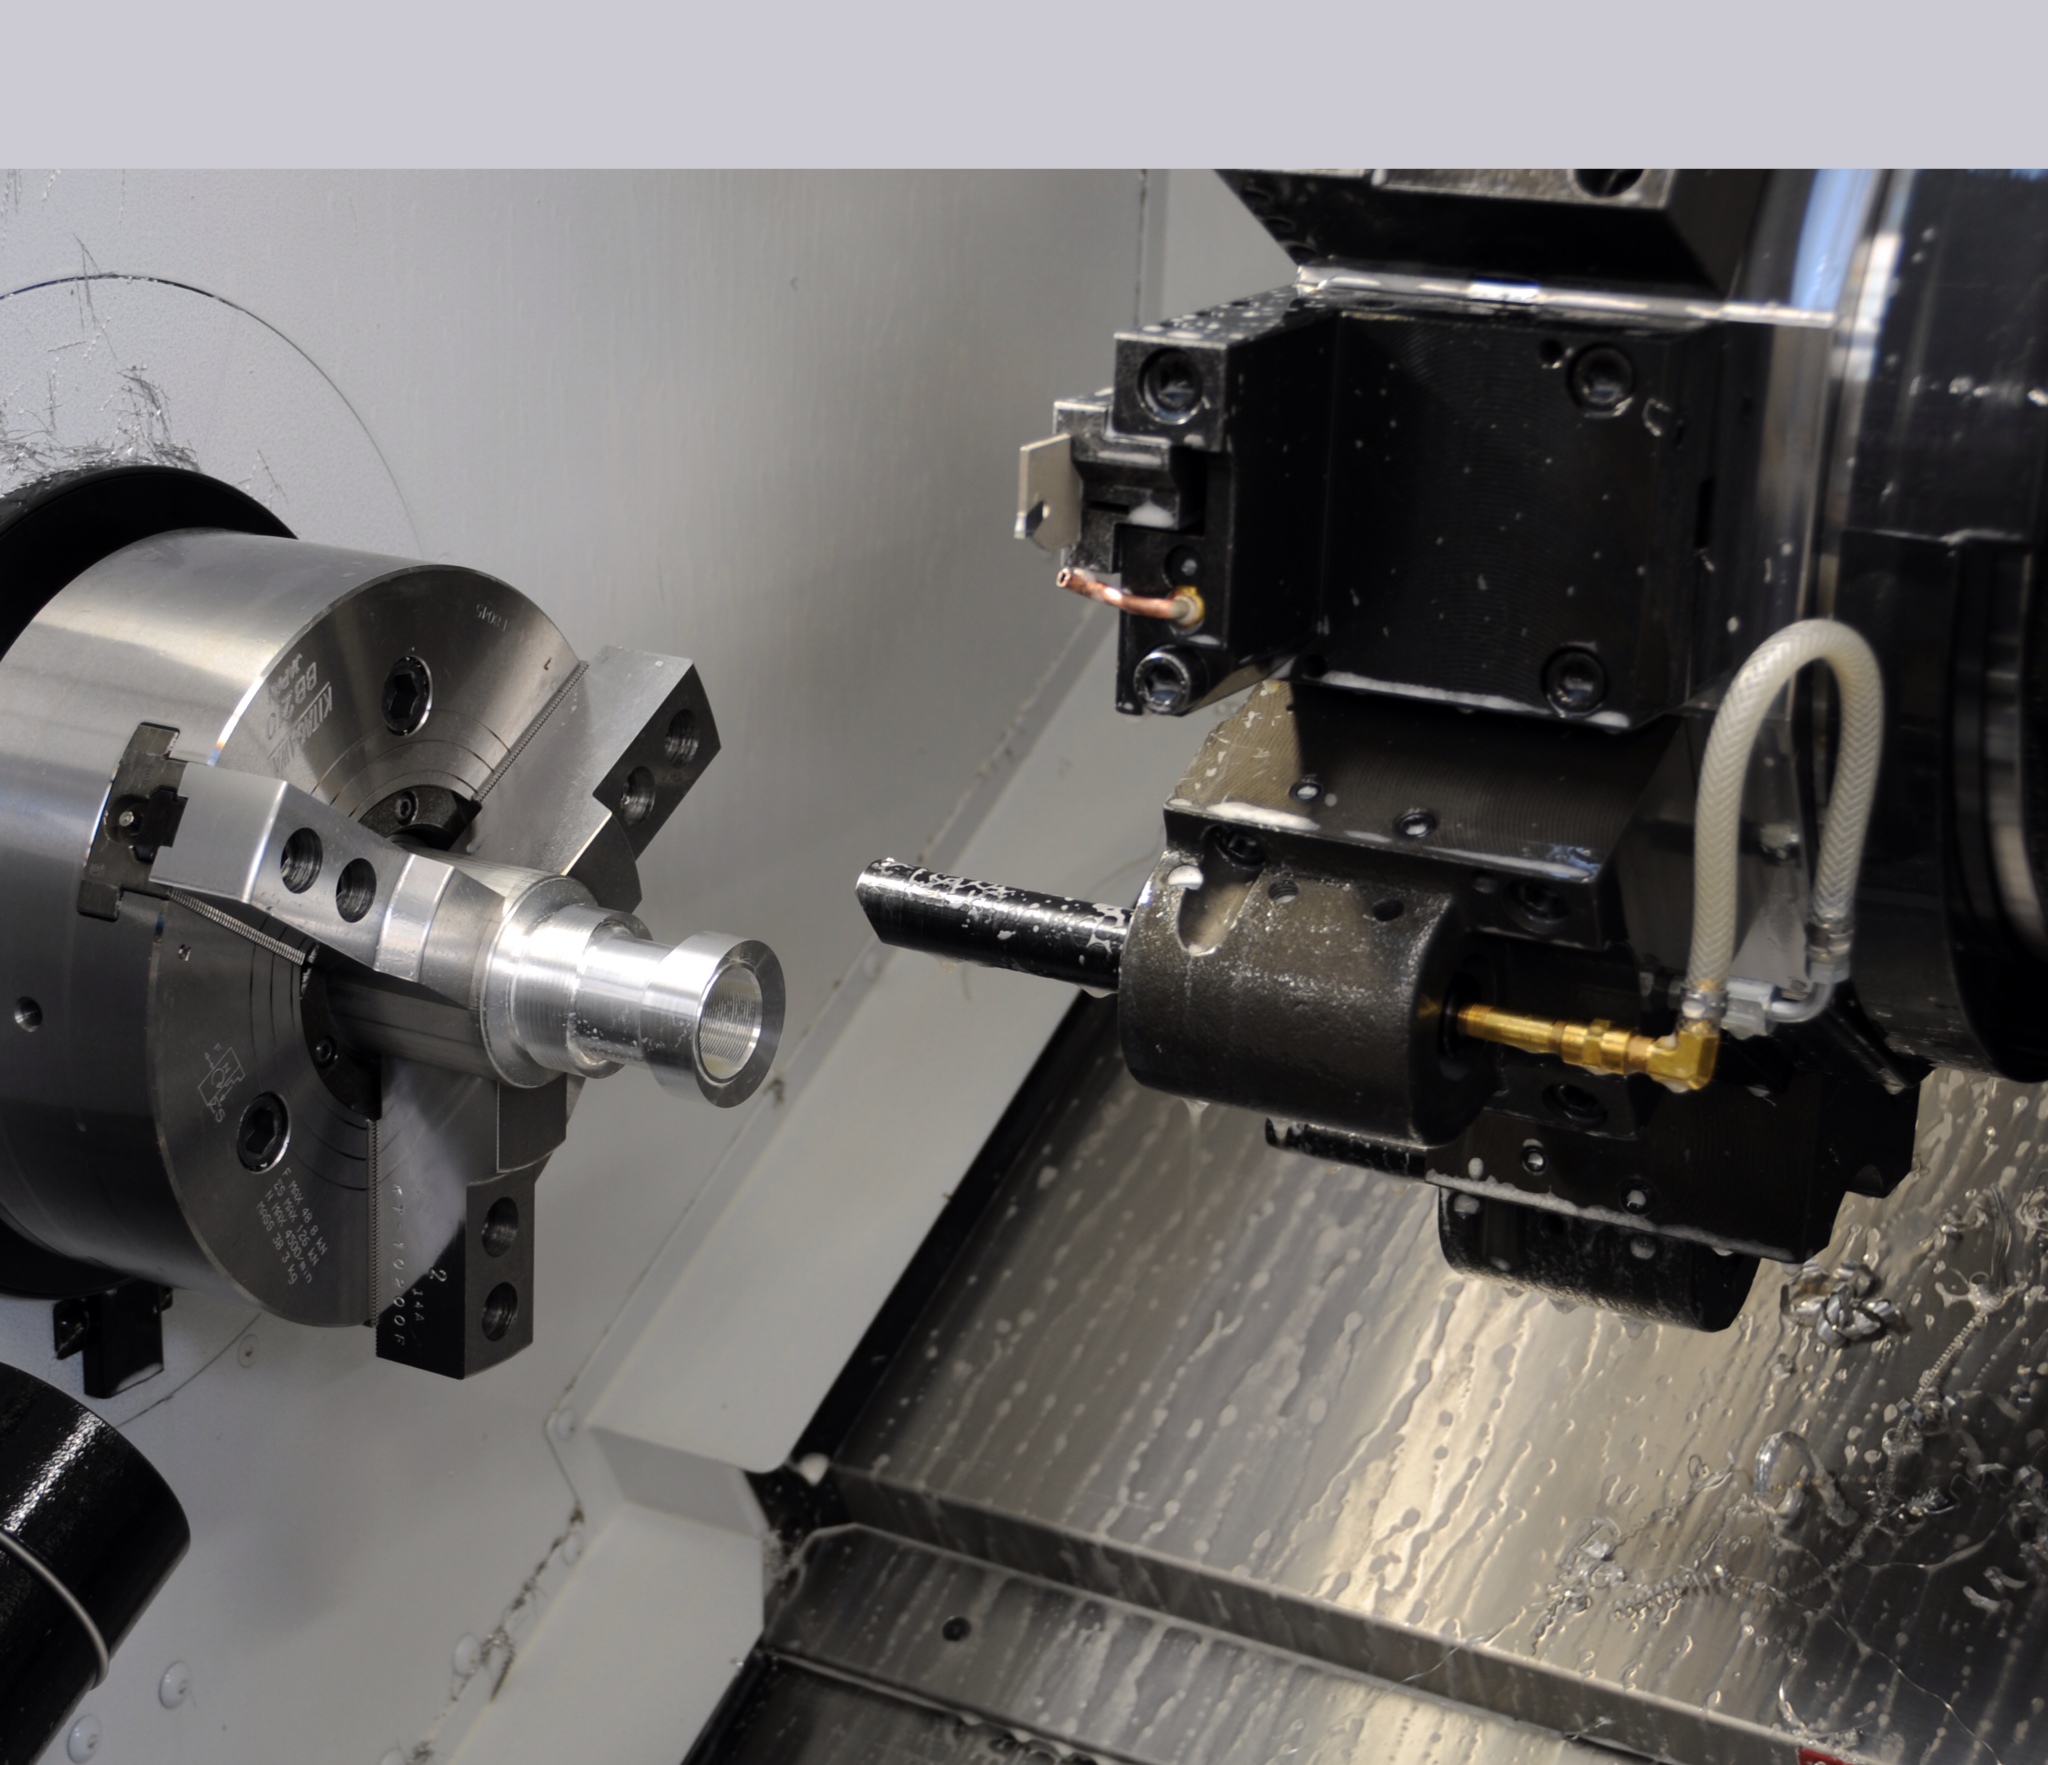
Machining: What sets Co-Motion apart from other frame builders is that they make their own frame parts (dropouts, seat collars, fork plugs, BB shells, head tubes etc) in their factory on their three CNC machines. The advantage to this is that they have control over the quality of the parts, can manufacture parts specifically for tandem and touring bikes, and are able to build frames quicker than other builders because they can manufacture a missing part in a few hours!
Brazing and finishing: Frame fittings (bottle bosses, cable guides, brake bridges etc) are brazed to the frame with brass and are ground down until smooth.
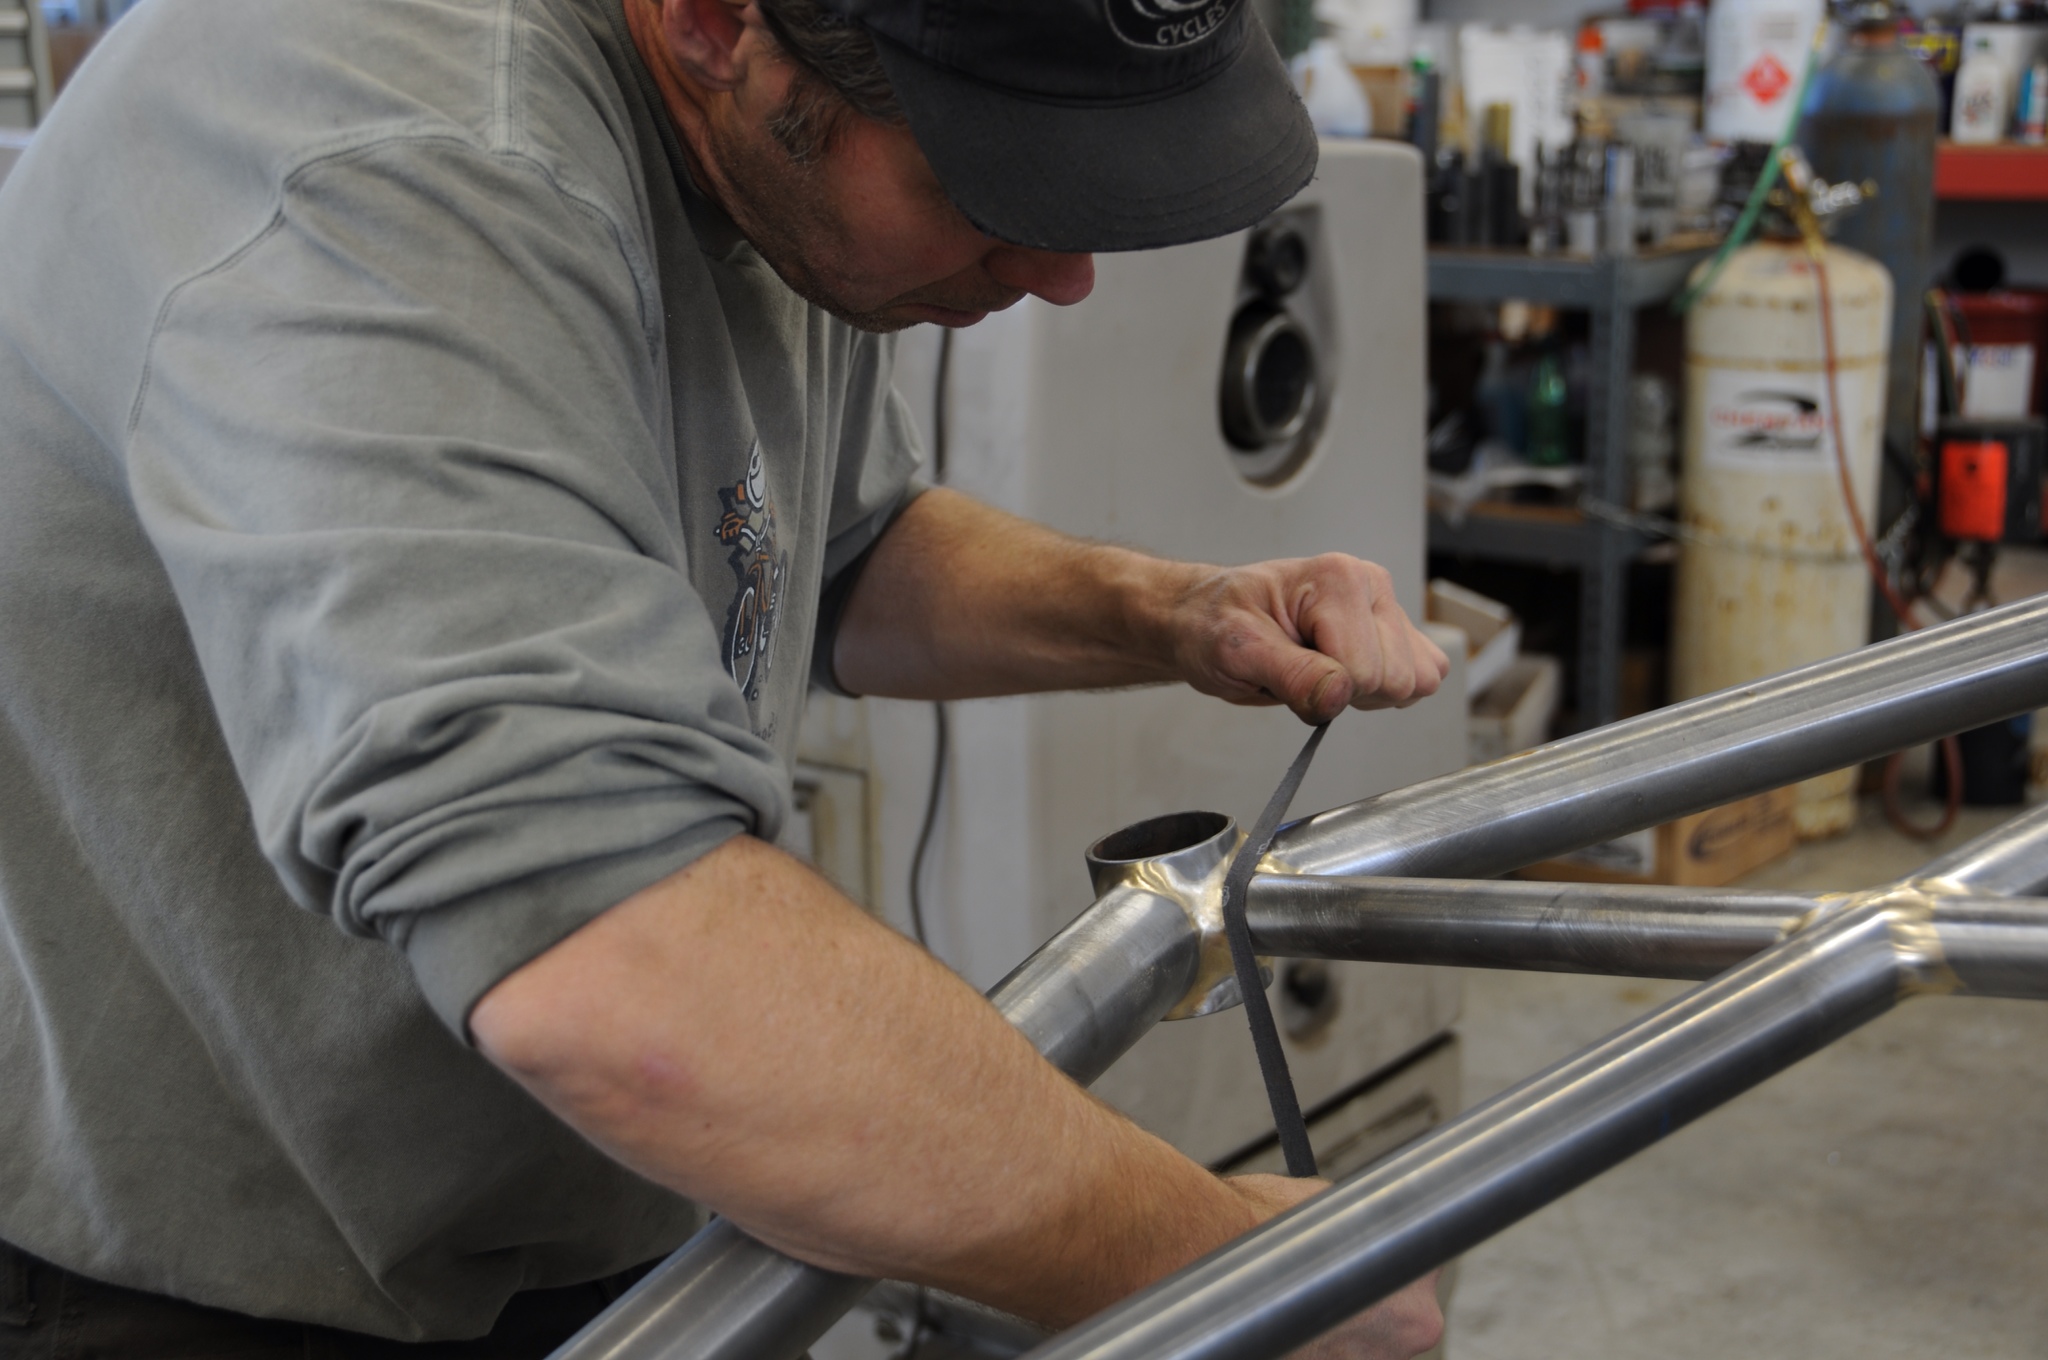
Alignment: The frame alignment is checked for accuracy prior to painting using specific tools.
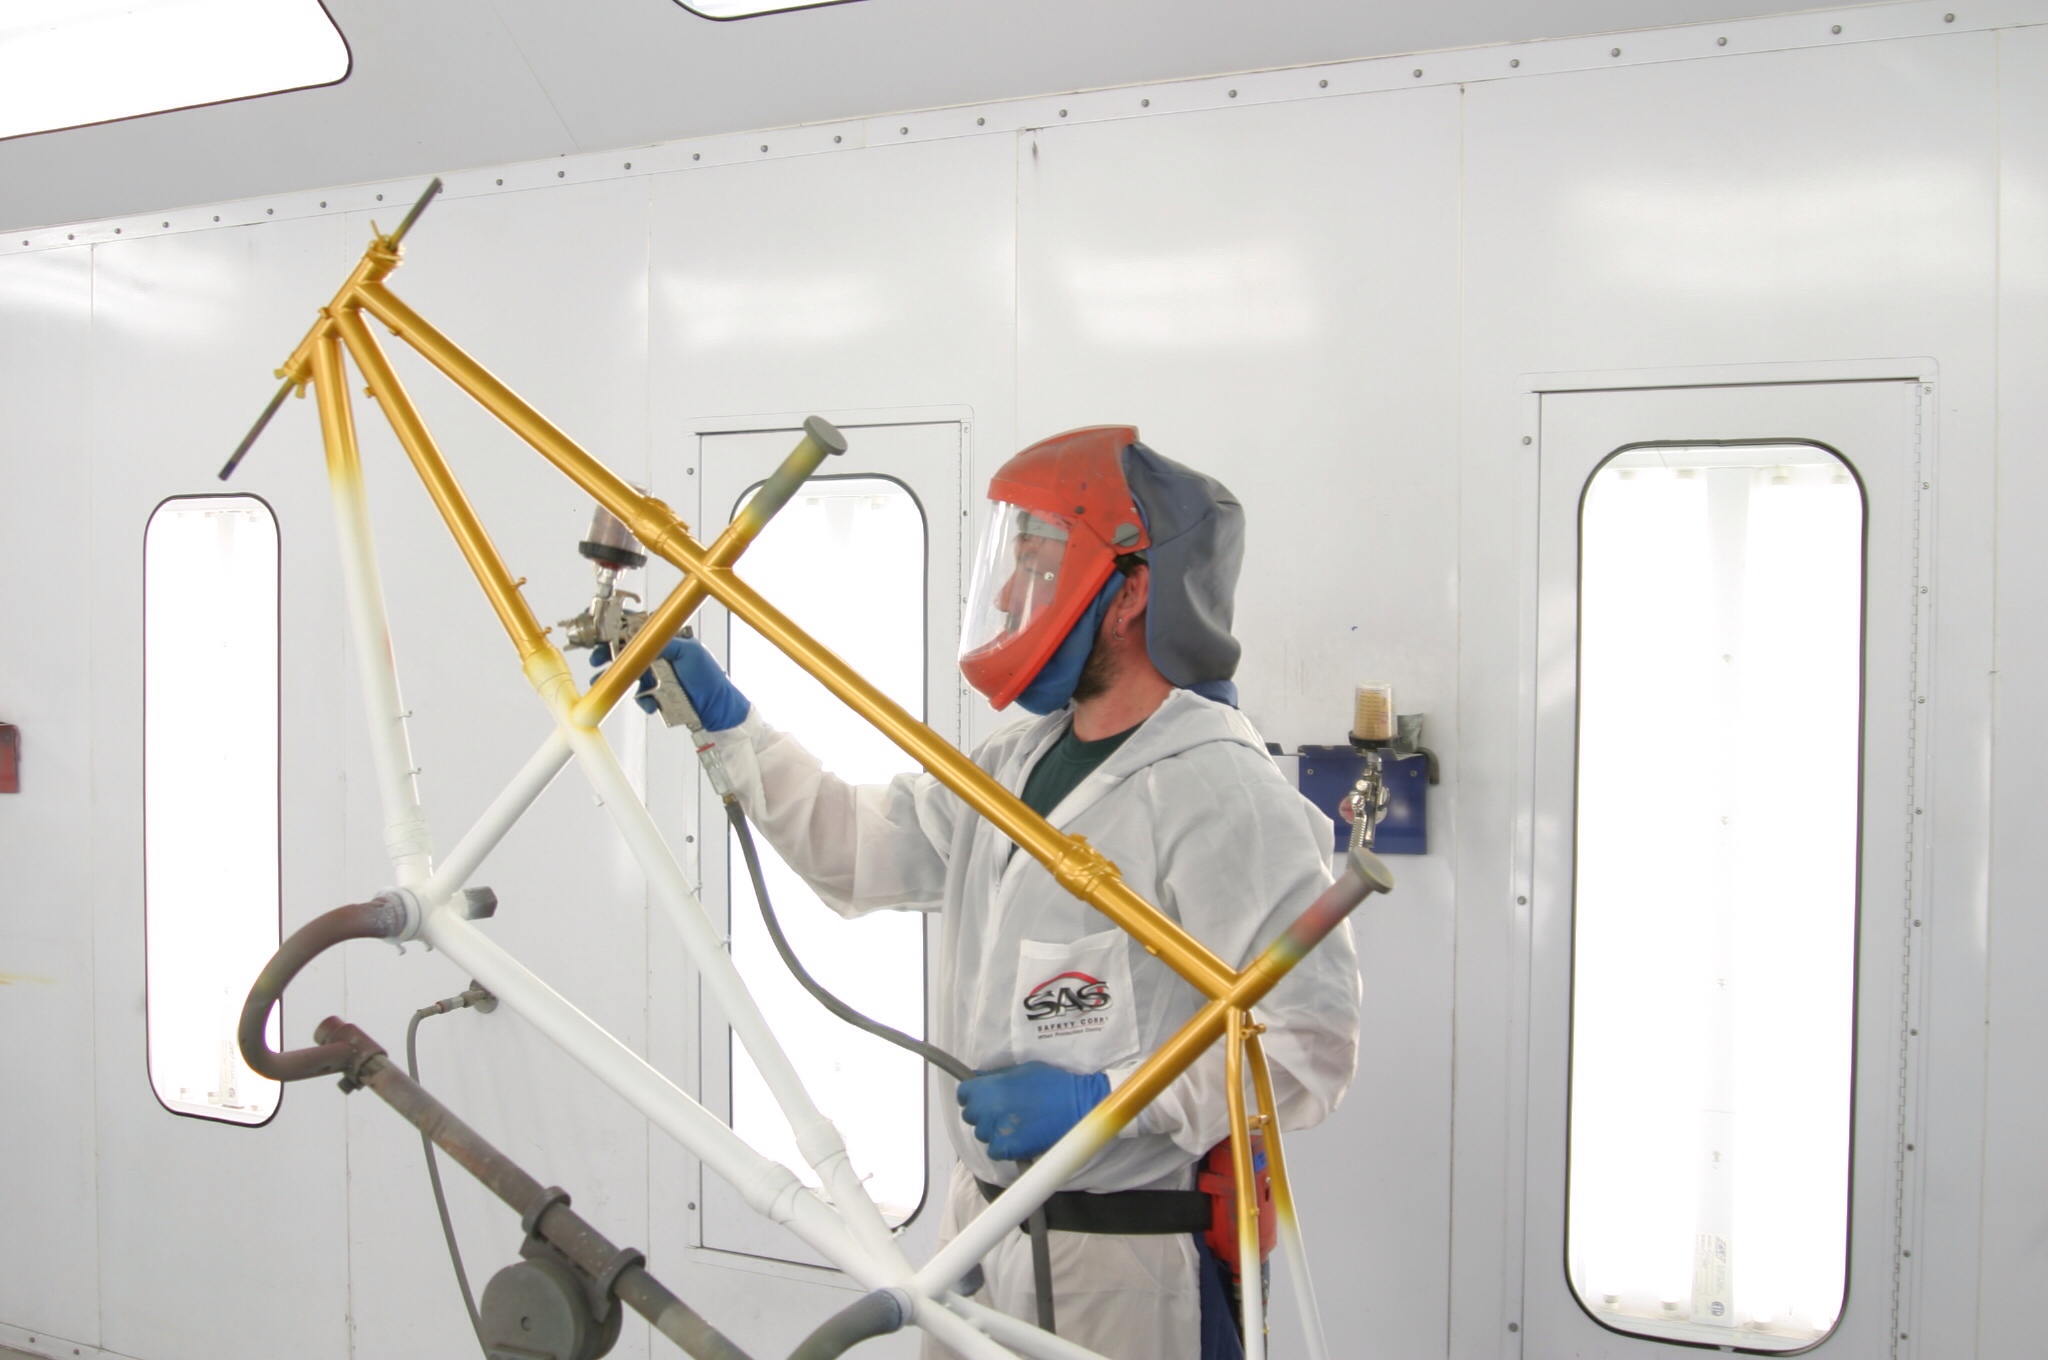
Painting: The bigger builders often have their own paint studio. They are able to paint your frame almost straight off the rack. Frames are sandblasted to remove any dirt or oils. This process roughs up the frame surface for paint adhesion. Most manufacturers will complete a three-stage paint process – a priming coat, the base colour and a final clear overcoat. But as your frame is custom, you can get a fancy ten-stage paint job if you want!
Smaller builders often use third-party companies to paint their frames, requiring more time to organise, ship and paint. Sometimes the third-party painters will do a better job than a custom frame builder because that is what they specialise in.
For more information on the Co-Motion factory, check out BikeRumor’s articles: part one, part two and part three.
8. Prepare the Frame
The step after the painting is often referred to as “prepping”. This is where all threads on the frame are chased, surfaces faced and the head and seat tubes reammed. Most builders will also treat steel frames with a rust inhibitor.
The frame is now 100% ready for the parts build.
9. Final Payment
Once everything is complete, you will usually get a few pictures of the frame ready to ship. The balance will need to be paid before the frame is dispatched.
10. Postage
The frame will be wrapped up with care from the builder. These guys send frames all the time, don’t worry, it will be perfect once you’ve received it!


how much does a custom tandem bike like this cost? i hope the added expense doesn’t shorten your trip!
Hi Matt
The cost is… without doubt… huge.
The frame retails at $2750 USD
Custom geometry adds $450 USD
The S&S Couplers (to break the frame into three) add $2000 USD
We got looked after on price, and are each paying half, so the cost won’t put too much of a dint in our trip. 🙂
Regards
Alex
I am interested in a custom tandem and my husband is 6 feet tall and I am 5 feet. We have done lots of research, but cannot seem to locate a place that makes/sells tandem. We live in Southern California (2 hours from LA). Any leads would be greatly appreciaited.
Hi Kim.
There are quite a few Co-Motion dealers in California including four in and around LA, and one just outside San Diego (http://co-motion.com/index.php/dealers). I’d suggest calling all of them to discuss what the best plan of attack is for you. Standover height is going to be important for you, so I’d suggest looking at the PeriScope tandems by Co-Motion.
Alee
Hi Alee
Does It need to any heat treatment of these parts they manufacture by themselves?
Like cr-mo 4130, Can it be used directly after CNC?
Thank you!
I’m not too experienced with the whole manufacturing process, sorry! Perhaps email a custom frame builder to find out more. 🙂